Transform Your Kitchen with a Fresh Coat of Paint
Kitchen cabinet painting is one of the most cost-effective ways to transform your kitchen without the expense of a full renovation. Here’s what you need to know:
Quick Overview:
- Cost: $400-$1,200 on average vs. $10,000-$30,000 for replacement
- Time: 3-5 days including prep, painting, and drying
- Lifespan: 7-10 years with proper prep and care
- Best Paint Sheen: Satin or semi-gloss for durability and cleanability
- Key to Success: Proper prep work (cleaning, sanding, priming) is 80% of the finish
Giving your kitchen an updated look doesn’t have to break the bank. As a family-owned painting company in Rhode Island, we’ve helped countless homeowners breathe new life into their kitchens through professional cabinet painting.
The truth is, most existing cabinets are structurally sound and just need a refresh. Painting them costs roughly one-third of what you’d spend on replacement, and the results can look just as good as new cabinets when done right.
However, achieving a factory-grade finish requires more than just slapping on paint. It demands careful preparation, the right materials, and proven techniques. This is especially true for historic homes in Rhode Island, where older cabinets need meticulous care to restore their beauty.
This guide covers every step, from choosing the right paint to avoiding common mistakes. Whether you’re a DIYer or want to understand the professional process, you’ll learn what it takes to transform your kitchen.
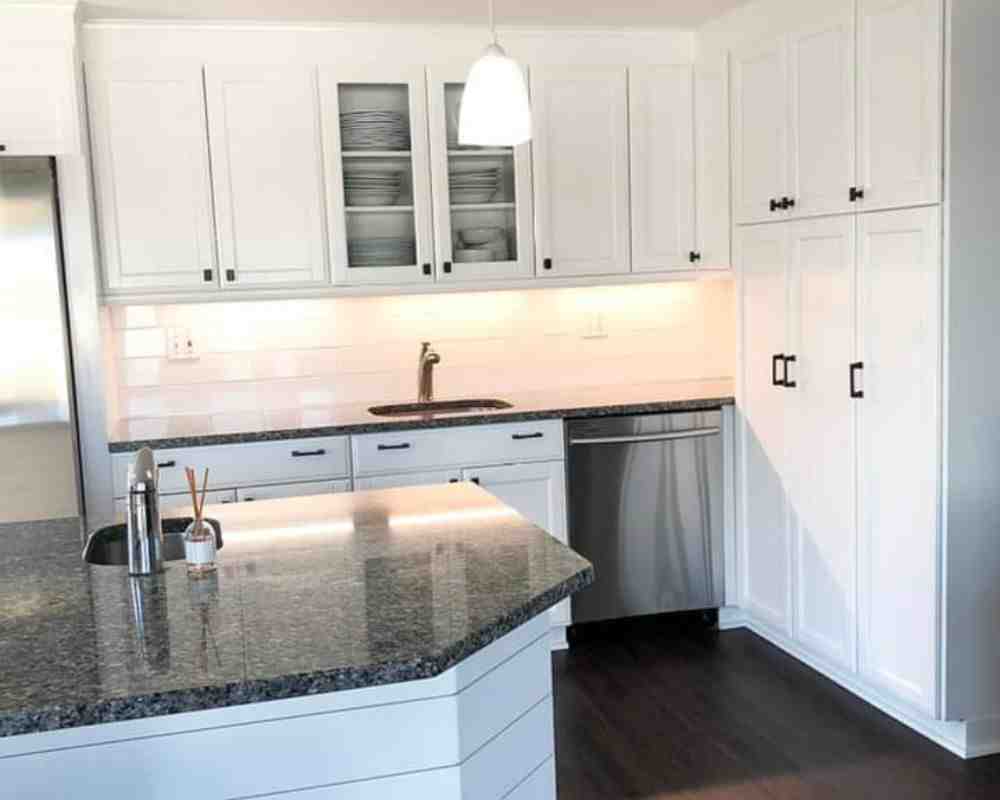
, After photo of bright updated cabinets, with callout stats \"75% Less Cost Than Replacing\" and \"7-10 Year Lifespan with Proper Care\" - kitchen cabinet painting infographic 3_facts_emoji_blue")
Planning Your Project: Sheen, Color, and Supplies
Careful planning is crucial for a successful kitchen cabinet painting project. This stage involves choosing your look and gathering the right tools. DIY costs can range from $400 to over $1,000, depending on cabinet size, primer, and paint choice. When you’re ready to dive in, remember we’re always here to help with More info about our Interior Painting Services.
Choosing the Best Paint Sheen for Kitchen Cabinets
The paint sheen you choose significantly impacts durability and cleanability. Having painted hundreds of kitchens across Rhode Island, from Barrington to South Kingstown, we know what works best.
Here’s a breakdown of common paint sheens:
| Sheen Type | Appearance | Durability | Cleanability | Best For |
|---|---|---|---|---|
| Flat/Matte | No shine, absorbs light, hides imperfections well. | Least durable, prone to scuffs. | Difficult to clean, not moisture-resistant. | Ceilings, low-traffic areas (rarely cabinets). |
| Eggshell | Very subtle, low sheen, resembles an eggshell. | Slightly more durable than flat, some scuff resistance. | Moderately cleanable, can show marks. | Walls, moderate-traffic areas (not ideal for cabinets). |
| Satin | Soft, velvety sheen, noticeable but not reflective. | Good durability, resists scuffs and moisture well. | Easy to clean, hides minor imperfections. | Kitchen cabinets (our top recommendation), trim, doors. |
| Semi-Gloss | Higher sheen, noticeably reflective, sleek look. | Very durable, highly resistant to scuffs and moisture. | Very easy to clean, stands up to scrubbing. | Trim, doors, kitchen cabinets (especially for modern looks), bathrooms. |
| Gloss | High shine, mirror-like, very reflective. | Most durable, extremely resistant to wear and moisture. | Easiest to clean, but highlights every imperfection. | Furniture, accents, doors (generally too much for cabinets). |
For kitchen cabinet painting, we consistently recommend satin or semi-gloss. Satin offers a soft sheen with excellent durability and is easy to clean, making it ideal for busy kitchens where spills and fingerprints are common. In our experience, satin is used on 95% of the cabinets we paint.
Semi-gloss also provides a hard, durable finish that’s very easy to wipe down, making it a fantastic choice for a sleeker look. However, high-gloss finishes are often too reflective, showing every smudge and imperfection. Flat or eggshell sheens don’t handle moisture or frequent cleaning well, making them unsuitable for cabinets.
Timeless Colors and Sourcing Supplies
Once you’ve chosen a sheen, it’s time to pick a color. Your choice depends on your personal style and long-term plans, like preparing to sell your Cranston or East Greenwich home.
If you’re staying put, draw inspiration from your existing decor. For timeless appeal or resale value, certain colors perform best. A recent study found muted green kitchens added value, while bright yellow ones reduced it. Classic, versatile choices are often best:
- Varying shades of white (always a classic for making spaces feel larger and brighter)
- Soft grays
- Taupe
- Deep blues (can add a sophisticated touch)
- Muted greens (currently popular and value-adding)
- Neutral wood tones (if you’re opting for a clear finish)
Two-tone cabinets, with a darker base and lighter uppers, are also a popular trend in Rhode Island.
A successful project requires the right tools. Here’s a list of essentials for a professional-grade finish:
- Degreaser/Cleaner: Krud Kutter or Trisodium Phosphate (TSP).
- Sandpaper: Medium-grit (100-150) and fine-grit (220-320).
- Quality Brushes: Angled brush for details, square brush for flat panels.
- Mini-Rollers: High-density foam or mohair rollers (4-inch recommended).
- Paint Trays: For rollers.
- Primer: High-adhesion, stain-blocking primer.
- Paint: High-quality cabinet paint (acrylic latex enamel or hybrid alkyd).
- Painter’s Tape: Blue painter’s tape for delicate surfaces.
- Drop Cloths/Plastic Sheeting: To protect surfaces.
- Screwdriver/Drill: For removing hardware.
- Wood Filler/Putty: To repair imperfections.
- Tack Cloths: To remove dust after sanding.
- Gloves, Masks, Eye Protection: Safety first!
- Labeling System: Bags and markers for doors and hardware.
- Workstation Supplies: Sawhorses or painter’s pyramids.

The Pro-Level Prep Work for Kitchen Cabinet Painting
We can’t stress this enough: preparation is the foundation of a durable, beautiful kitchen cabinet painting job. In our 30+ years of experience painting homes in places like Bristol and Warren, we’ve seen that 80% of all kitchen painting complaints are due to a lack of surface preparation. Skipping prep isn’t worth the time saved, as you’ll likely need to repaint sooner. This is where our commitment to honest, quality work comes into play—we never cut corners.
Step 1: Cleaning and Sanding Your Cabinets
First, create a clean, organized workspace. Clear out cabinets, remove freestanding appliances, and protect countertops and floors. If you’re doing this yourself, set up a dust-free workstation in a garage or spare room with sawhorses for the doors.
Next, disassemble and label everything. This is a critical step many DIYers overlook. Remove all doors, drawers, and hardware. Label each piece carefully! We number the doors and corresponding frames and place hardware in labeled bags. This step saves immense frustration during reassembly. If you have trouble with a stripped screw, see How Do I Remove A Stripped Screw? for help.
Now for the cleaning. Kitchen cabinets accumulate grease and grime, especially near the stove, which prevents paint adhesion. Wipe all surfaces with a heavy-duty degreaser like Krud Kutter or Trisodium Phosphate (TSP). For stubborn grease, TSP is highly effective (follow all safety precautions).
Once clean and dry, it’s time to sand. The goal isn’t to strip the old finish, but to create a “tooth” for the primer and paint to grip. For glossy cabinets, sand them to a matte finish using 100- to 150-grit sandpaper. Lightly sand all surfaces. If your home was built before 1978, be aware of potential lead-based paint and take appropriate safety measures or consult a professional.
After sanding, vacuum all dust and wipe surfaces with a tack cloth. Repair any holes or dents with wood filler, let it dry, then sand smooth. For tips, see How Do I Use Sandpaper?. For more extensive repairs, our Our Carpentry Services in Rhode Island can help with repairs.
Step 2: When and How to Prime for a Perfect Base
Priming is an essential step for a durable, professional finish. It acts as a bridge between the original surface and the new paint, serving several purposes:
- Stain-Blocking: Seals in wood tannins and stains, preventing bleed-through, which is vital for old oak.
- Improving Adhesion: Creates a uniform surface that paint can grip much better than a slick finish.
- Uniform Color: Provides a consistent base, ensuring your final paint color appears true, especially when going from dark to light.
Priming is always crucial when painting a lighter color, over new wood, dark or stained wood (like in many older Narragansett homes), or laminate cabinets, which require a special bonding primer.
Choosing the right primer is key. We recommend high-quality bonding primers. Shellac-based primers are excellent for stain-blocking and dry quickly. Avoid lacquer-based primers, as they can interfere with some topcoats.
Apply a thin, even coat of primer with a brush and mini-roller, following the wood grain. Let it dry completely per the manufacturer’s instructions. Once dry, lightly sand with fine-grit (220-grit) sandpaper to smooth any imperfections, then wipe clean with a tack cloth before painting.
The Art of Application: How to Paint for a Flawless Finish
With prep work done, it’s time to apply the paint. A professional, factory-grade finish on your kitchen cabinet painting project depends on your application method, number of coats, and understanding drying versus curing times.

Application Methods for kitchen cabinet painting: Brush, Roller, or Sprayer?
Each method has its merits, and a combination often yields the best results:
- Brush: Offers excellent control for detailed areas, edges, and cutting in. Best for moldings and intricate designs but can leave brush marks.
- Roller: Efficient for large, flat surfaces. High-density foam or mohair mini-rollers can achieve a very smooth finish. Best for flat panels of doors and frames.
- Sprayer: Delivers the smoothest, most factory-grade finish. It’s the fastest method but requires specialized equipment, practice, and extensive masking. For a deeper dive, learn about using a paint sprayer.
For most DIYers, combining a quality brush and a mini-roller offers a great balance of control and a smooth finish. For the ultimate factory finish, especially on custom kitchens or historic restorations in East Providence, we use professional spraying techniques in our dedicated spray shop.
Achieving a Smooth Finish and Proper Drying
The key to a flawless finish is applying multiple thin coats rather than one thick one to minimize drips and runs.
How Many Coats of Paint? Typically, two to three thin coats are needed. Darker original colors may require three coats for full opacity.
Drying Time Between Coats: Patience is key. Allow each coat to dry completely before applying the next, typically 24-48 hours. Always consult the manufacturer’s recommendations. Paint at room temperature, ideally between 10 °C and 32 °C (50 °F-90 °F). As Benjamin Moore recommends, It can be applied between 10 °C and 32 °C (50 °F-90 °F).
Addressing Imperfections:
- Wood Grain: To hide prominent oak grain for a smoother look, use a grain filler like “Cabinet Mud” before priming. Apply, sand smooth, then prime and paint.
- Light Sanding: Lightly sand with 220-grit sandpaper between paint coats to remove any dust or minor imperfections. Wipe clean with a tack cloth after sanding.
Final Curing Time: This is an overlooked step. While paint feels dry in hours, it takes much longer to fully cure and reach maximum hardness. Wait at least 24 hours before reassembling, but avoid heavy use or harsh cleaning for 5-7 days. New paint is most vulnerable in the first 3-4 weeks before it’s fully cured.
Final Touches and Avoiding Common Mistakes
You’ve done the hard work, and your kitchen looks fantastic! Now for the final steps to bring the project together and ensure the finish lasts. This stage also highlights common pitfalls to avoid. Want to see some inspiring changes? See our finished work in our Portfolio.
Reassembly and Curing
Once the final coat is applied, the waiting game begins. Patience is key during reassembly.
How Long to Wait Before Reassembling: We recommend waiting at least 24 hours after the final coat before reattaching doors and drawers. This allows the paint to harden enough to avoid smudges. Handle each piece with care during reassembly.
Full Cure Time: Paint takes up to 3-4 weeks to fully cure and reach maximum hardness. During this period, be gentle with your cabinets. Avoid harsh scrubbing or impacts. With proper care, your painted cabinets can last 7-10 years.
Installing New Hardware: This is a great opportunity to update your kitchen’s look. New knobs, pulls, and hinges can dramatically change the style. If installing hardware in new locations, use a template for consistent placement. If reusing holes, simply reattach old hardware or choose new pieces that fit.
Common kitchen cabinet painting Mistakes to Avoid
Many common kitchen cabinet painting mistakes can be avoided with a little foresight. Here’s what to watch out for:
- Skipping Prep Work: This is the number one cause of paint failure. Not cleaning, sanding, or priming leads to chipping and peeling. Prep is 80% of the finish!
- Using Cheap Paint or Tools: Quality matters. Invest in good paint designed for cabinets and professional-grade brushes and rollers for a smoother, more durable finish.
- Rushing the Process: Painting cabinets takes time. Rushing coats or reassembling too soon will compromise the finish. Plan for 3-5 days for the entire process.
- Painting in Poor Conditions: Extreme humidity or temperatures negatively affect paint drying and adhesion. Aim for moderate temperatures and good ventilation.
- Not Allowing Proper Cure Time: Cabinets aren’t fully durable until the paint has cured for several weeks. Aggressive cleaning or use during this period can cause damage.
By avoiding these pitfalls, you’ll ensure your hard work results in a beautiful, long-lasting finish.
Frequently Asked Questions about Painting Kitchen Cabinets
We often get questions about kitchen cabinet painting from homeowners in places like Johnston and Narragansett. Here are the most common ones, answered with our professional insights:
How long will painted cabinets last?
With proper prep, high-quality paint, and good maintenance, painted cabinets can last 7 to 10 years. Durability depends on the initial prep, paint quality, and post-painting care. New paint is most vulnerable in the first 3-4 weeks before it’s fully cured, so gentle use during this period is key to longevity.
Can I just paint over my old cabinets without sanding?
While some paints claim you can skip sanding, we strongly advise against it for kitchen cabinets. Sanding creates a “tooth” on the surface, allowing the primer and paint to adhere effectively. Without it, paint is more likely to chip or peel, especially in a high-traffic kitchen.
For glossy surfaces, sanding to a matte finish is essential. A liquid deglosser can help, but a light scuff with sandpaper is still recommended for best results. The risks of skipping sanding—chipping and peeling—far outweigh the time saved.
What’s the most durable paint finish for kitchen cabinets?
The most durable paint finishes for kitchen cabinets are satin and semi-gloss. Both offer excellent resistance to moisture and wear, making them easy to clean.
- Semi-gloss offers slightly more durability and is easier to clean due to its smoother surface. It’s highly resistant to scuffs.
- Satin also provides good durability with a softer, less reflective appearance. It’s easy to clean and hides minor imperfections better than semi-gloss.
Our professional recommendation is satin for its balance of aesthetics and functionality. It provides a beautiful, durable sheen that’s easy to clean without highlighting every fingerprint. For a very modern look, semi-gloss is also an excellent choice.
Your Kitchen Change Awaits
We hope this guide has given you the confidence for your kitchen cabinet painting project. You now have the knowledge to achieve a stunning change, from selecting colors to mastering prep and application.
This rewarding DIY project gives your kitchen a fresh look and increases home value without the cost of a full remodel. Painting your cabinets is a budget-friendly way to modernize your space, and the satisfaction of doing it yourself is immense.
However, if the project feels overwhelming or you want a flawless factory-grade finish, professional results come from experience and specialized tools. As Rhode Island’s premier painting contractor, Catanzaro & Sons has over 30 years of experience and a commitment to trust and honesty. We specialize in residential and commercial painting, including historic home restorations, and our 100% dedication to customer satisfaction sets us apart.
Whether your home is in East Providence, Barrington, or any of our service areas across Rhode Island, we’re here to help. If you’re ready to transform your kitchen with a professional touch or have a historic home that needs expert care, we invite you to reach out. Contact us for your East Providence, RI painting project today, and let us bring our expertise to your home.


