Why Crown Molding Installation Transforms Any Room
Crown molding installation is one of the most effective ways to add architectural character and visual polish to a room. Here’s a quick overview of what the process involves:
- Measure each wall and buy 15-20% extra molding
- Choose your material (wood, MDF, or polyurethane)
- Cut inside corners with coped joints, outside corners with mitered cuts
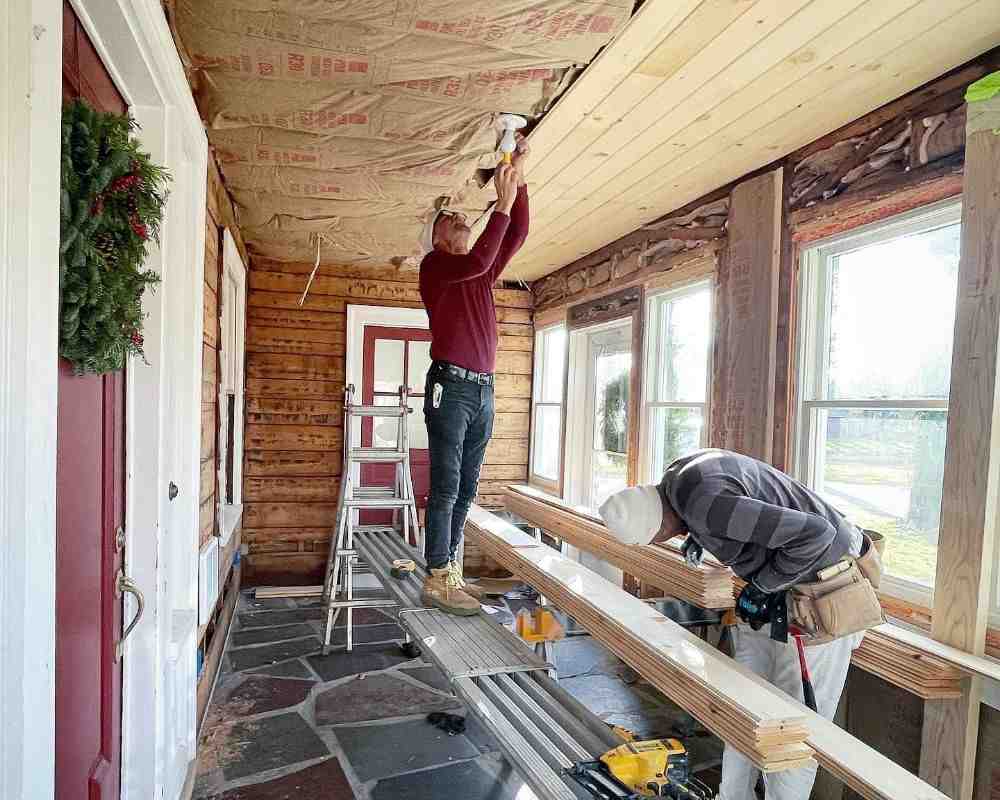
- Secure molding to studs or backing every 16-24 inches
- Finish with paintable caulk, wood filler, and touch-up paint
It sounds straightforward. But here’s the thing – walls are rarely perfectly square, ceilings sag, and corners drift off 90 degrees in older homes. That’s where most DIYers run into trouble fast.
Crown molding sits in a three-dimensional space where the wall meets the ceiling. Every cut is a compound angle. A gap of even 1/8 inch at a corner can be nearly impossible to close cleanly, especially with larger profiles or hardwood stock.
Done right, it frames a room beautifully – hiding minor imperfections where walls meet ceilings, adding depth, and giving spaces that finished, high-end look. Done poorly, it leaves visible gaps, uneven joints, and heavy caulk fills that draw the eye to every flaw.
This guide walks you through every step – from tools and materials to cutting, installing, and finishing – so you get results worth being proud of.
I’m Michael Catanzaro of Catanzaro & Sons, a Rhode Island family painting and carpentry business with decades of experience in crown molding installation across residential, commercial, and historic properties. Whether you’re tackling this yourself or considering professional help, what follows is the same trusted knowledge we bring to every job.
, five common molding profiles (cove, ogee, dentil, colonial, craftsman), compound miter angle chart (bevel 33.9°, miter 31.6°), installation sequence arrows going counterclockwise around a room floor plan, and material comparison icons for wood, MDF, and polyurethane with pros/cons labels - Crown molding installation infographic")
Simple Crown molding installation word guide:
Essential Tools and Materials for Crown molding installation
Before you make your first cut, you need the right arsenal. Using the wrong saw or a weak nailer is the fastest way to end up with a pile of wasted trim. We always recommend gathering everything beforehand so you aren’t running to the hardware store in the middle of a complex corner.

The heavy hitters for this project are:
- Compound Miter Saw: A 12-inch sliding miter saw is ideal. It allows you to cut wide molding without struggling.
- Coping Saw: Essential for those tight inside corners.
- 18-Gauge Brad Nailer: We love the cordless versions (like the Ryobi AirStrike) because you aren’t tripping over a compressor hose while balanced on a ladder.
- Protractor: This is non-negotiable. Don’t assume your corners are 90 degrees—they almost never are. A protractor at least 16 inches long helps bypass the extra thickness of drywall corner beads.
- Stud Finder & Chalk Line: For marking your “landing zones” on the wall.
| Molding Material | Pros | Cons | Best Use Case |
|---|---|---|---|
| Solid Wood (Pine/Poplar) | Authentic look, very durable, holds crisp detail. | Can warp with humidity, more expensive. | Stained finishes or high-end historic homes. |
| MDF (Medium Density Fiberboard) | Very stable, won’t warp, affordable, usually comes pre-primed. | Heavy, creates a lot of dust when cut, susceptible to water damage. | Painted finishes in modern homes. |
| Polyurethane | Lightweight, moisture-proof, easy to install alone. | Less “crisp” detail than wood, needs specific adhesive. | Bathrooms, kitchens, or high-humidity areas. |
For more details on how these materials fit into a larger home upgrade, check out our trim carpentry services.
Measuring and Planning for Crown molding installation
The golden rule of Crown molding installation is to buy 15-20 percent more material than your linear footage suggests. Why? Because you will make a wrong cut. It’s part of the learning curve. If your molding has a large pattern repeat (greater than 6 inches), add another 5% to ensure you can match the patterns at the joints.
To get accurate measurements, we often use “pinch sticks”—two thin pieces of wood slid against each other until they hit opposite corners, then clamped. This gives you a physical representation of the wall length that a floppy tape measure can’t match. You can find more accurate measurement tips to help refine your planning stage.
Selecting the Right Material
In Rhode Island, especially in historic areas like the East Side of Providence or Bristol, choosing the right material is about balancing aesthetics with the home’s environment.
- Solid Pine or Poplar: If you’re going for a stained look or need to match historic trim exactly, wood is king. It expands and contracts naturally, which is why we always recommend acclimating it in the room for 48-72 hours before installation.
- MDF: This is the workhorse of modern trim. It’s incredibly smooth and takes paint beautifully. Since it doesn’t have a grain, it won’t warp, making it a favorite for large living rooms in Barrington or Cranston.
- Polyurethane: If you’re working in a coastal home in Narragansett where humidity is high, polyurethane is a lifesaver. It won’t rot or attract insects, and it’s light enough that one person can often hold a long piece while nailing the other end.
Mastering the Cut: Mitering and Coping Techniques
This is where the “magic” happens. Because crown molding sits at an angle (the “spring angle”), you can’t just cut it flat like a picture frame.
Most standard crown has a spring angle of 38 degrees. To cut this on a compound miter saw, you’ll set the bevel to 33.9 degrees left and the miter to 31.6 degrees. However, many pros prefer the “upside-down and backwards” method. You place the molding in the saw so the “ceiling” edge is on the bottom of the saw and the “wall” edge is against the fence. It feels counterintuitive at first, but it allows you to use simple 45-degree miter cuts.
For the most precise results, we always keep Bosch miter and bevel angle charts handy to adjust for those pesky non-90-degree corners.
The Art of the Coped Joint
For inside corners, professional carpenters rarely use two mitered pieces. Houses settle, and miters will eventually pull apart, leaving an ugly gap. Instead, we use a coped joint.
Here is how it works:
- Run the first piece of molding straight into the corner with a square cut.
- Miter the second piece at a 45-degree angle to reveal the profile.
- Use a pencil to highlight the leading edge of that profile.
- Use a coping saw to cut away the back of the molding along that line (this is called “back-cutting”).
- The resulting “hollowed out” end fits perfectly over the face of the first piece of molding like a puzzle piece.
This method is much more forgiving of walls that aren’t square and joints that move with the seasons.
Handling Outside Corners and Scarf Joints
Outside corners are less forgiving than inside ones. They must be mitered. If your wall is 91 degrees, you’ll cut each piece at 45.5 degrees. We always “dry fit” these with scrap pieces first.
When a wall is longer than your stock (usually 16 feet), you’ll need a scarf joint. Never just butt two pieces together; they will eventually separate. Instead, cut both pieces at a 45-degree angle so they overlap. Position this joint directly over a wall stud, apply a little wood glue, and nail through both pieces into the stud. For a truly professional touch, we sometimes use biscuit joinery to keep the faces perfectly flush. If this sounds like a lot to handle, our guide to Rhode Island carpentry services can help you decide when to call in the pros.
Step-by-Step Installation and Securing
Planning your sequence is vital to avoid “double-coping”—which is when you have to cope both ends of a single piece of molding (a nightmare for even the most patient carpenter).
The Pro Sequence:
- Start on the longest wall opposite the entry door. Square-cut both ends.
- Move around the room counter-clockwise.
- Each subsequent piece will be square-cut on the right and coped on the left.
- By the time you reach the last piece, you only have to cope one end to fit into the first piece you installed.
Securing Your Crown molding installation to the Wall
Finding studs is the difference between a job that lasts and one that sags after a month. Use a stud finder to mark every stud along the ceiling line.
- Nailing: Use 2-inch brad nails. Nail into the top “flat” of the molding into the ceiling joists and the bottom “flat” into the wall studs.
- Adhesive: A thin bead of construction adhesive (like Liquid Nails) on the back edges provides extra insurance.
- Backing: In older homes in Johnston or Warren where studs might be wonky, we often rip 2x4s at the spring angle of the crown and nail those to the top plate of the wall first. This gives us a solid wood “backer” to nail into anywhere we want.
Managing Imperfections
No wall is perfect. If you have a “saggy” ceiling, don’t try to force the molding to follow the dip. Instead, keep the molding level. You can fill the resulting gap at the top with a bit of extra caulk or, if the dip is severe, you can “scribe” the top edge of the molding to match the ceiling’s curve. For wavy walls, a few well-placed shims behind the molding can help keep the run straight without distorting the profile.
Finishing Touches and Troubleshooting
The difference between a DIY look and a professional finish is in the last 5% of the work.
- Caulking: Use a high-quality, paintable latex caulk. Apply a small bead to the top and bottom seams. Wipe it smooth with a damp finger or a specialized caulking tool. Keep a bucket of clean water nearby to keep your hands clean.
- Hole Filling: Fill nail holes with wood filler or spackle. Once dry, sand them lightly until flush.
- Sanding: Focus on the joints. If a scarf joint or miter isn’t perfectly flush, a little bit of 220-grit sandpaper can work wonders before you paint.
Pre-Finishing vs. Post-Installation Painting
Should you paint before or after? We almost always recommend priming and painting the molding before it goes on the wall. It is much easier to paint on a pair of sawhorses than it is while standing on a ladder. Once the molding is installed, you only need to do minor touch-ups on the nail holes and the caulked seams. This ensures a seamless transition and prevents you from getting ceiling paint on your freshly painted walls.
Troubleshooting Common Beginner Mistakes
- Miter Gaps: If your miter has a small gap, don’t just fill it with caulk. Try “burning” the joint by rubbing a screwdriver handle over the sharp edge of the wood to crush the fibers together.
- Split Ends: Always pre-drill pilot holes if you are nailing within an inch of the end of a piece of wood molding.
- Incorrect Orientation: It is easy to get turned around. We recommend marking “TOP” and “BOTTOM” on the back of every piece of molding before you head to the saw.
- Excessive Caulking: Caulk is for sealing, not for rebuilding a poorly cut joint. If you find yourself using half a tube on one corner, it’s better to recut the piece.
Frequently Asked Questions about Crown Molding
How much extra molding should I buy for mistakes?
We recommend buying 15-20% extra. For beginners, err on the side of 20%. It’s better to have one extra 16-foot stick left over than to be 6 inches short on your last corner on a Sunday afternoon.
Is it better to cope or miter inside corners?
Coping is the superior method. It handles wall imperfections better and stays tight even when the house shifts or the wood shrinks. Mitering is only recommended for outside corners.
Should I paint the molding before or after I put it up?
Paint it before! You will save hours of tedious “cutting in” at the ceiling line. Just save a small amount of paint for the final touch-ups after the caulk has dried.
Conclusion
Crown molding installation is a rewarding project that pays dividends in your home’s value and daily enjoyment. Whether you are updating a modern home in East Greenwich or restoring a historic gem in Narragansett, the key is patience, the right tools, and a respect for the “three-dimensional” challenge of the angles.
At Catanzaro & Sons, we’ve spent over 30 years perfecting these techniques. As a local, family-owned Rhode Island business, we pride ourselves on trust, honesty, and a 100% work guarantee. We specialize in everything from simple modern updates to complex historic home restorations, ensuring that every joint is tight and every finish is flawless.
If you’re ready to elevate your space but want the peace of mind that comes with professional expertise, we are here to help. Contact our expert carpentry services in Rhode Island today for a consultation. Let’s make your home the showpiece it deserves to be.


